This is a sponsored conversation written by me on behalf of Cricut. The opinions and text are all mine.
Hey!
Happy Wednesday - we're halfway through the working week, though mine is proving to be a busy one this week as I'm heading away for a business trip to Germany tomorrow. Kinda hoping I may find some yummy pretzels on the way...*wink*
Anyways, enough about my working week, I'm here with a review of a hot product on the crafty market (I mean literally H.O.T.) - the
Cricut EasyPress 2 9" x 9" plus the
Cricut EasyPress Mat in size 12" x 12".
Cricut kindly gave me these product to review and here is my honest account of them. Firstly, let's take a closer look at the
Cricut EasyPress 2. Now I'm a convert when it comes to playing with Cricut iron-on materials as you may see from past projects
here,
here and
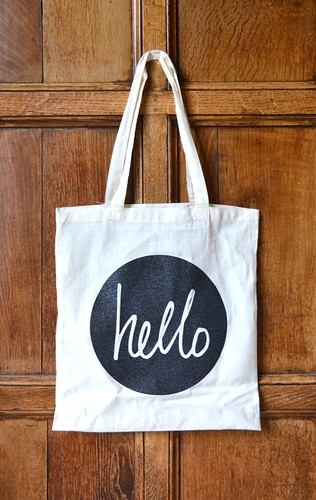
here. In fact, I still treasure this 'Hello' bag I made at the Cricut event waaaaaaay back in 2014.
For these previous projects, I'd cut my project on my Cricut Explore and use my iron to apply the iron-on material. Completely logical, right? So what's different with the
Cricut EasyPress 2 and why is it better over a regular iron? Well let me list the many reasons why:
1. EVEN APPLICATION OF HEAT
This
EasyPress 2 features a super-smooth ceramic-coated heat plate in sizes beyond that of your regular iron in three sizes: 6" x 7", 9" x 9" and 12" x 10". There's a size for every project, but for me and my needs the 9" x 9" is juuuuuust right. No more moving the iron around over an iron-design to make sure it's all received the same application of heat - hurrah!
2. EASY TO USE
Now I'm not saying an iron is hard to use (well...if it gets me out of regular ironing then I'd argue it!) but this machine is so incredibly easy to use. Simply use the interactive or downloadable guide to say what material your Cricut iron-on material is and what you'd like to apply it to and you'll be told the exact temperature required and pressing time. Simply input that in the
EasyPress 2 and you're ready to go!
3. PROFESSIONAL RESULTS
Now, this is the biggy for me. An iron will apply iron-on material just fine, but you need an even heat and pressure over the design if you want it to be durable wash after wash.
The EasyPress 2 does just that - especially when combined with the
EasyPress Mat.
4. SAFETY
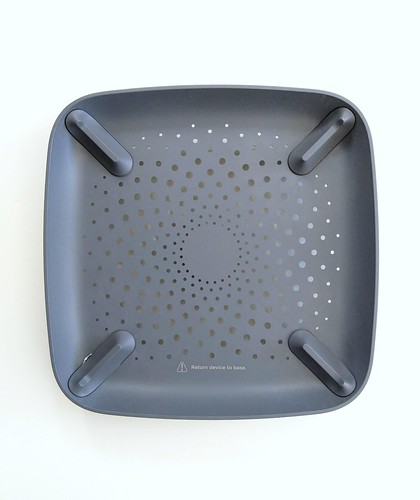
Another biggy here - especially for accident-prone peeps like me! The
EasyPress 2 comes with an Insulated Safety Base that protects the heat plate. As an added bonus it's pretty too! I mean, have you ever seen a prettier Insulated Safety Base? I thought not.
This base means you don't have a hot plate exposed to accidental touching like I do with my iron. Even better, the
EasyPress 2 will also automatically turn off after 10 minutes of inactivity as an additional saftey feature.
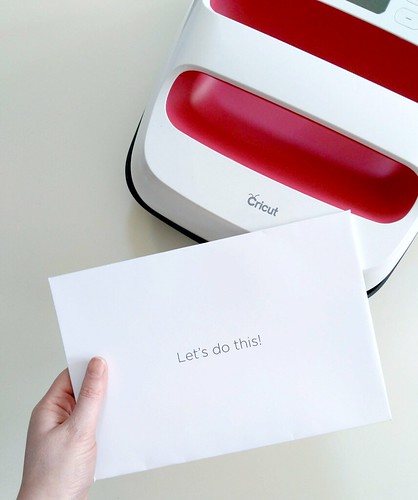
WHAT'S INCLUDED?
When you open the
EasyPress 2, Cricut share in the excitment with their fun branding and design:
I love how Cricut make you feel so special when you open one of their products - it's that attention to detail that gets me smiling like the Cheshire Cat!
You can get started straight away as Cricut kindly include a cotton drawstring bag and a sparkly green Cricut logo iron-on design! I'm saving the bag for a future project, I just need to decide what to put on it...
So that's the
EasyPress 2. Now let's look at its partner in crime: the
Cricut EasyPress Mat. Now this is not complusory to have alongside the EasyPress 2, but it definietly aids in achieving that professional finishing result thanks to the technology it incorporates. You can use a regular folded towel under your projects, but the
EasyPress Mat features five layers of heat-resistant, moisture-wicking insulation and this is key for achieving that durability with iron-on designs. The mats come in three different sizes, each one complementing each size of the EasyPress 2 family.
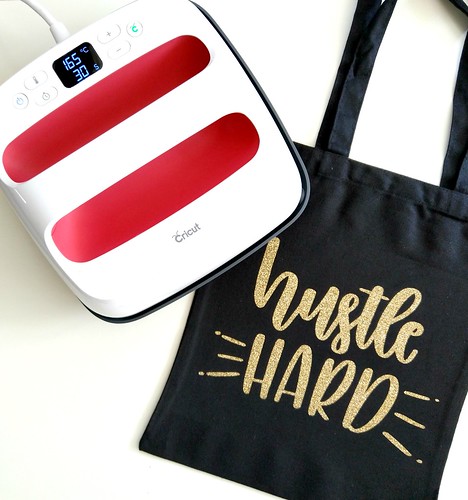
Now, let's have some fun and combine the
Cricut EasyPress 2, the
EasyPress Mat, the
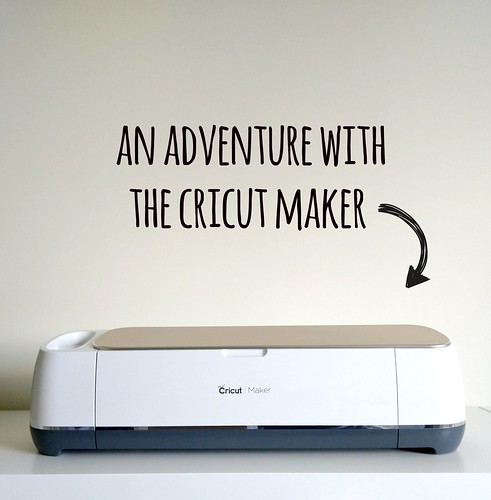
Cricut Maker, some
gorgeous gold glitter iron-on material to show just how easy it is to create your own iron-on projects!
STEP 1 - PRE-WASH YOUR ITEM
Whatever you're going to apply your iron-on to, it's recommended that you pre-wash it without fabric softener. This helps to improve the durability of the finished project.
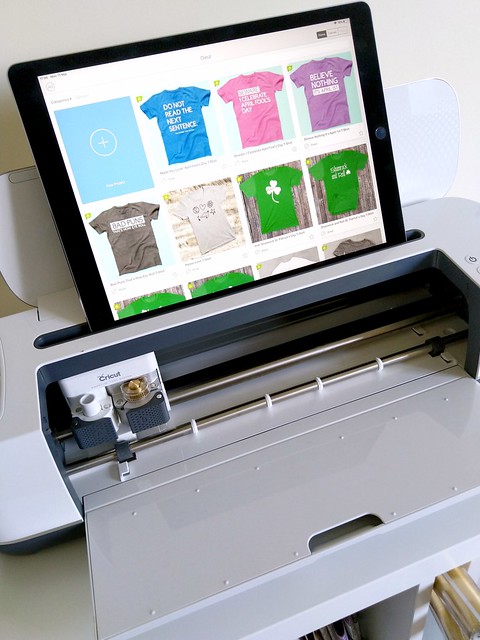
STEP 2 - PICK A DESIGN
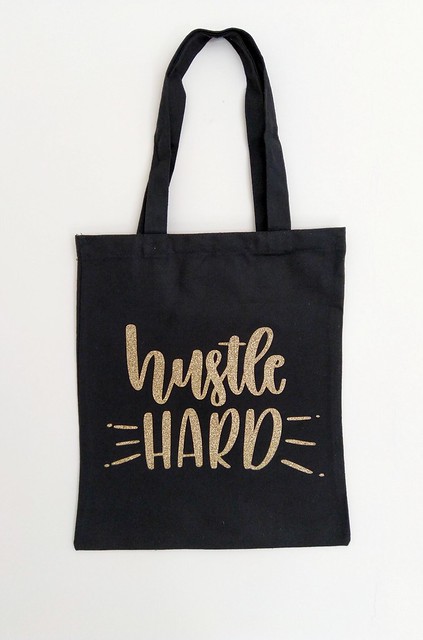
There are soooooooooooo many designs you can choose from in the Cricut Design Space library - many specifically designed for iron-on designs. Some of them are free, some you have to pay a small price for. I wanted to customise a black tote bag with artwork I'd purchased
from Etsy by liliumpixelsvg, and the joy of Design Space is that you can do this with no problem whatsoever and for free!
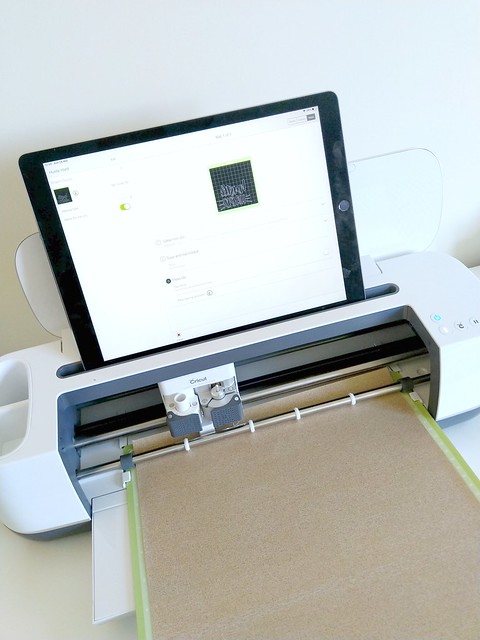
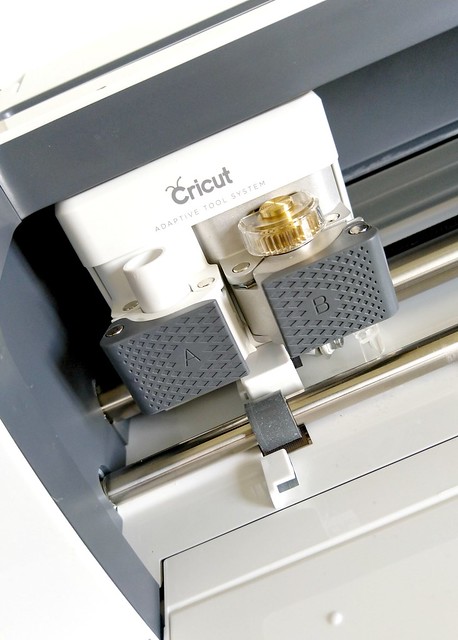
STEP 3 - CUT THE DESIGN
Don't forget to mirror your design when cutting it from iron-on material! Also place the iron-on material shiny side down onto the mat.
You can leave the Maker to it, but I can never resist watching the cutting process - it's quite hypnotising!
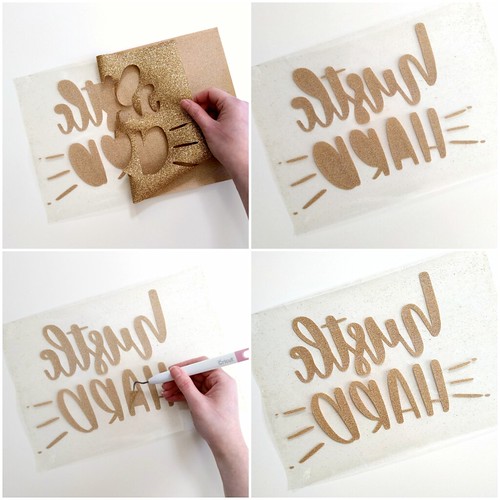
STEP 4 - WEED THE DESIGN
Basically, remove the background from the cut design. This is easy done when combined with the weeding tool. I find it quite theraputic!
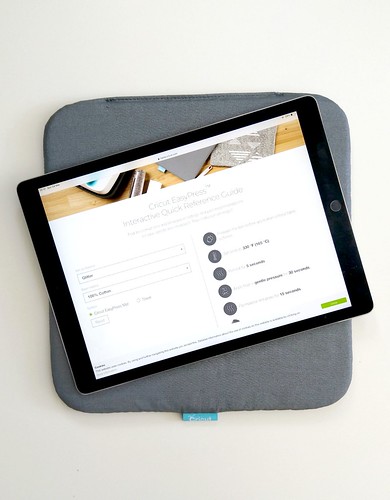
STEP 5 - SET UP THE EASYPRESS 2
Simply access the interactive guide here or download a guide to determine the settings required on the EasyPress 2.
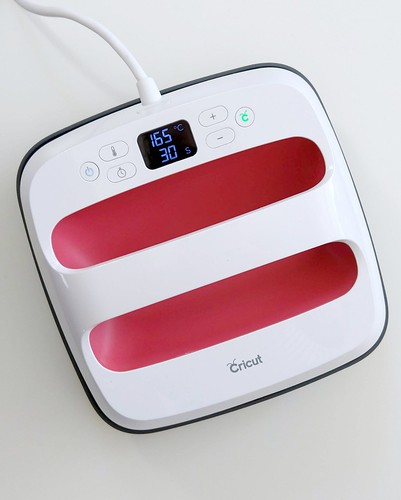
Input the required temperature and timing into the EasyPress 2.
A green light will show and it'll beep to let you know when it's ready (another feature I appreciate!)
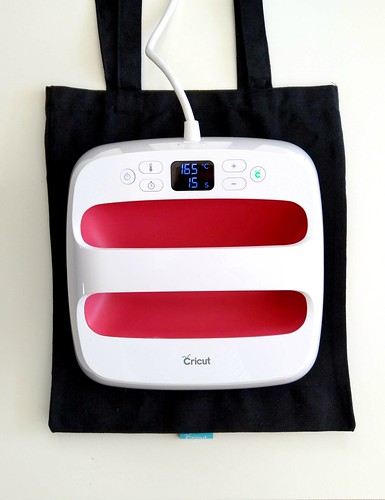
STEP 6 - PREP THE BASE MATERIAL
Place the base material (in my case, a tote bag) on the Cricut EasyPress Mat (or alternatively a towel) and apply the EasyPress 2 on top for five seconds to withdraw any moisture. This step is really imporant to achieve that durability - don't skip it!
STEP 7 - PRESS IT, BABY!
Position the iron-on design on the project and press the EasyPress 2 on top for the required amount of time by pressing the Cricut button to activate the timer. You don't need to press down super-hard. Then flip over the project and press the reverse side of the project for 15 seconds.
Again, this is an imporant step for durability purposes so don't skip it!
STEP 8 - PEEL AWAY
Depending on the material used, peel the shiny backing of the iron-on design away while the project is still warm or when it's cooled. The interactive and downloadable guide will inform you whether to adopt a warm or cold peel for you project.
STEP 9 - TA-DAH!
Your project is complete!
Allow 24 hours after application before washing and always wash and tumble dry the project inside out.
I think I'm going to find it hard to part with this bag, much like the first 'Hello' bag I made back in 2004, this one is going to stay with me. *wink*
I hope you found this review and project useful! I'll be back with more in the future for sure. Thanks so much for stopping by today!